What’s the Best Way to Cook Corn for Maximum Flavor?
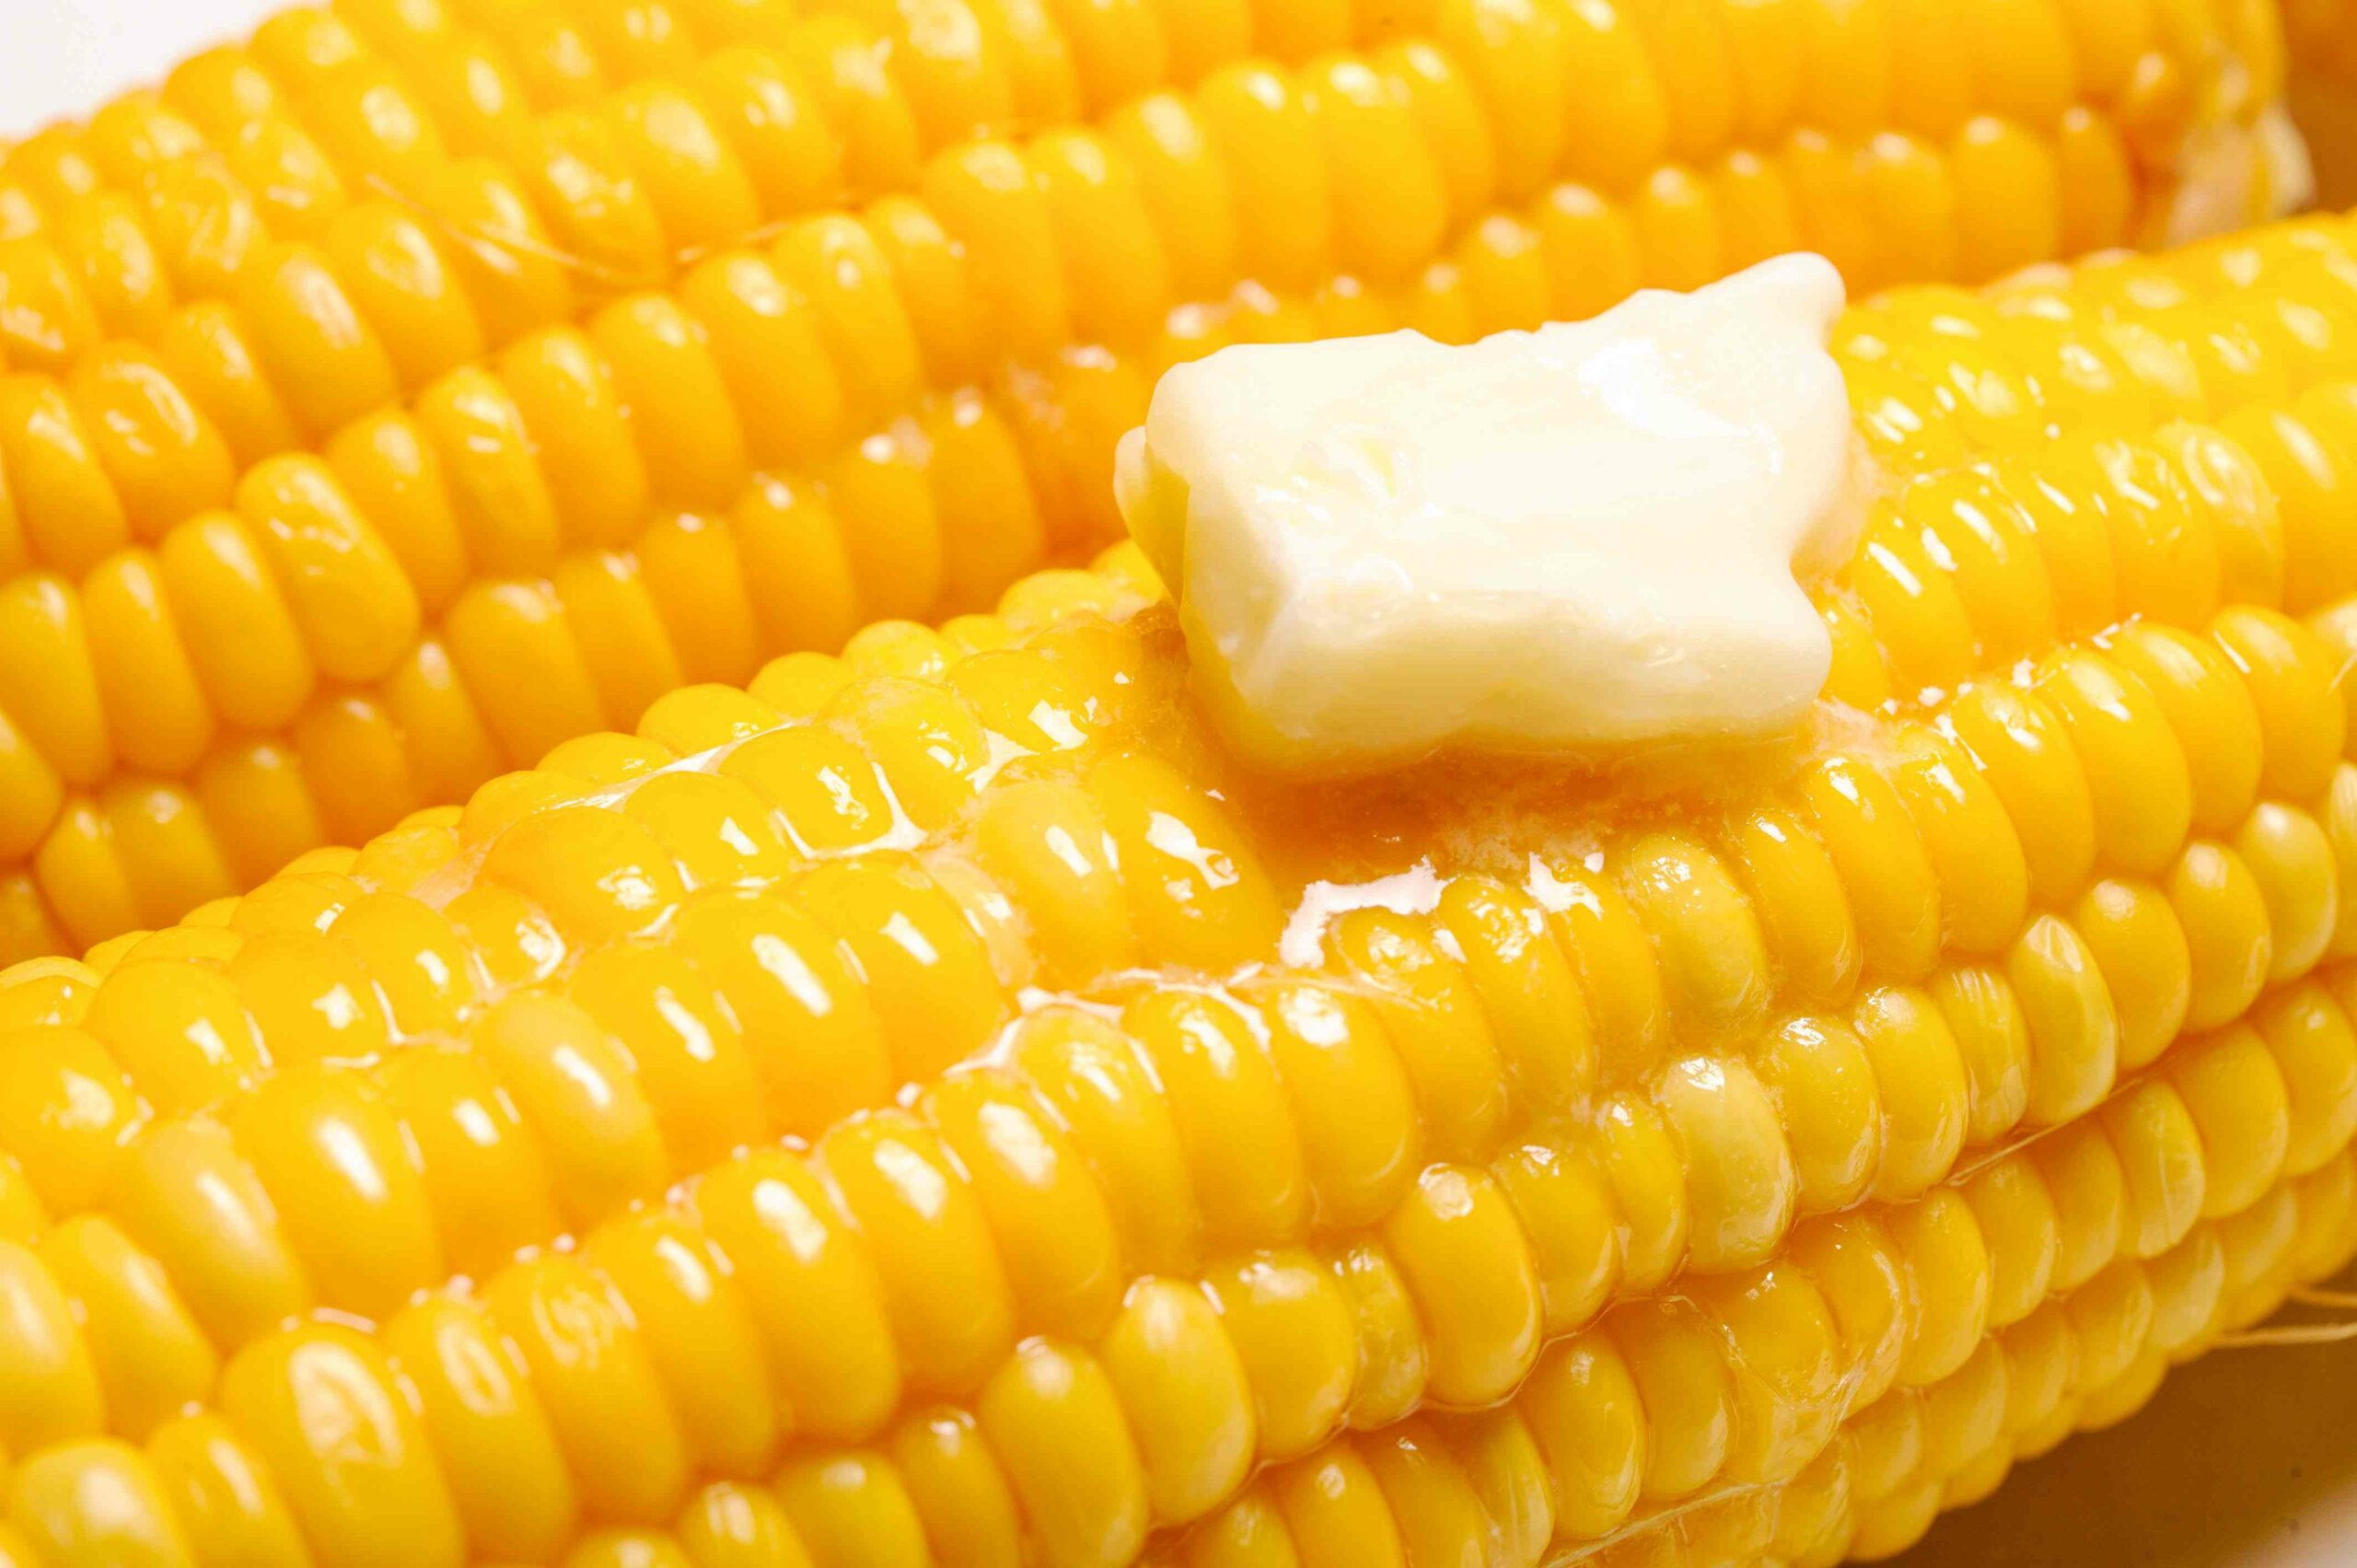
There’s nothing quite like biting into a perfectly cooked ear of corn – sweet, juicy, and bursting with flavor. But here’s the rub: cook it wrong, and you end up with tough, bland kernels that just don’t hit the spot. Whether you’re prepping for a summer BBQ, a cozy family dinner, or just craving some good ol’ corn on the cob, nailing the cooking method makes all the difference. So let’s shuck the confusion and get to the good stuff – here’s everything you need to know about cooking corn like a pro.
Boiling Corn: The Classic Method
Boiling is the go-to for most home cooks, and when done right, it delivers tender, sweet kernels every time.
- Use plenty of water: Fully submerge ears
- Bring to rolling boil: Before adding corn
- Cook 3-5 minutes: No longer!
- Add sugar/salt: Enhances natural sweetness
Pro tip: Don’t overcook! Those kernels turn tough and starchy if left boiling too long. And here’s a game-changer – try adding a splash of milk or a pat of butter to the water for extra richness.
Grilling Corn: For That Smoky BBQ Flavor
Want to take your corn to the next level? Fire up the grill. That charred, smoky flavor can’t be beat.
Husk-On vs. Husk-Off Grilling
You’ve got options when it comes to grilling corn:
- Husk-on method: Natural steam packet
- Husk-off: More direct char
- Soak husks first: Prevents burning
- Butter baste: For extra flavor
Grill over medium heat for about 15 minutes, turning occasionally. For restaurant-worthy results, peel back the husks after cooking, slather with flavored butter, and give it another minute on the grill.
Microwave Corn: The Quickest Fix
Short on time? Your microwave can actually deliver surprisingly good results.
- Leave husk on: Natural steam
- 2-3 minutes per ear: High power
- Let stand 5 minutes: Finishes cooking
- Easy peeling: Husk slips right off
This method preserves more nutrients than boiling and is perfect when you need corn in a pinch. Just be careful when handling – that steam gets hot!
Oven-Roasted Corn: Hands-Off Perfection
Forget babysitting a pot – roasting corn in the oven is foolproof and delicious.
- 350°F oven: Even cooking
- Lightly oil ears: Prevents drying
- 30-40 minutes: Turn occasionally
- Finish with toppings: Get creative
The dry heat concentrates the corn’s natural sugars, giving you intensely flavored kernels. Try sprinkling with chili powder or grated cheese after roasting.
Choosing and Prepping Your Corn
Great cooked corn starts with great raw corn. Here’s how to pick winners:
- Look for bright green husks
- Check for plump kernels
- Silk should be golden
- No worm holes
Store corn in the fridge with husks on, and try to cook within 2-3 days for peak sweetness. When prepping, remove just the outermost husk leaves – the inner layers protect the kernels during cooking.
Creative Corn Toppings and Flavors
Plain butter and salt is classic, but why stop there? Jazz up your corn with these ideas:
- Mexican street corn: Mayo, cheese, chili
- Garlic parmesan: Butter, garlic, herbs
- Lime cilantro: Zesty and fresh
- Spicy honey butter: Sweet heat
Mix up compound butters in advance so they’re ready when your corn comes off the heat. Pro tip: Keep a squeeze bottle of flavored mayo or crema for easy application.
Cooking Corn Off the Cob
Sometimes you want those golden kernels loose. Here’s how to handle it:
- Blanch first: Easier cutting
- Use a bundt pan: Holds cob steady
- Sharp knife: Clean cuts
- Save the cobs: Make stock
Fresh-cut corn is amazing in salads, salsas, or simply sautéed with butter. And don’t toss those cobs – simmer them for an hour to make incredible corn stock for soups.
Seasonal Corn Cooking Tips
Corn’s flavor changes through the season – adjust your methods accordingly:
- Early season: More delicate
- Peak season: Super sweet
- Late season: Starchier
- Winter solution: Frozen works
Early summer corn might need just 2 minutes of boiling, while late August cobs benefit from longer cooking to soften. And hey – quality frozen corn is a great option when fresh isn’t available.
Corn Cooking Tools That Make Life Easier
While you can get by with basic kitchen gear, these tools elevate your corn game:
- Corn holders: No burnt fingers
- Grill basket: For loose kernels
- Corn stripper: Fast kernel removal
- Butter brush: Even application
Investing in a few corn-specific tools can make prep and eating much more enjoyable. Looking at you, person who’s ever burned your fingers on hot corn!
Troubleshooting Common Corn Problems
Even corn pros run into issues sometimes. Here’s how to fix them:
- Too tough: Cooked too long
- Too bland: Old or under-seasoned
- Burnt spots: Watch grill heat
- Dry kernels: Baste while cooking
Remember – fresh corn is key. If your corn tastes starchy no matter how you cook it, it might just be past its prime. When in doubt, slather on more butter!


